Water-damaged Game Boy Color: Initial Inspection
I recently received this Game Boy Color from one of my wife’s coworkers. She found it in a box of stuff from her childhood, and decided it would be fun to show to her daughter. Unfortunately, the Game Boy did not work properly with any of the games she tried. She knew that I am into classic game consoles and repairing electronics, so she gave it to me to see if I could fix it.
Cleaning the Cartridge
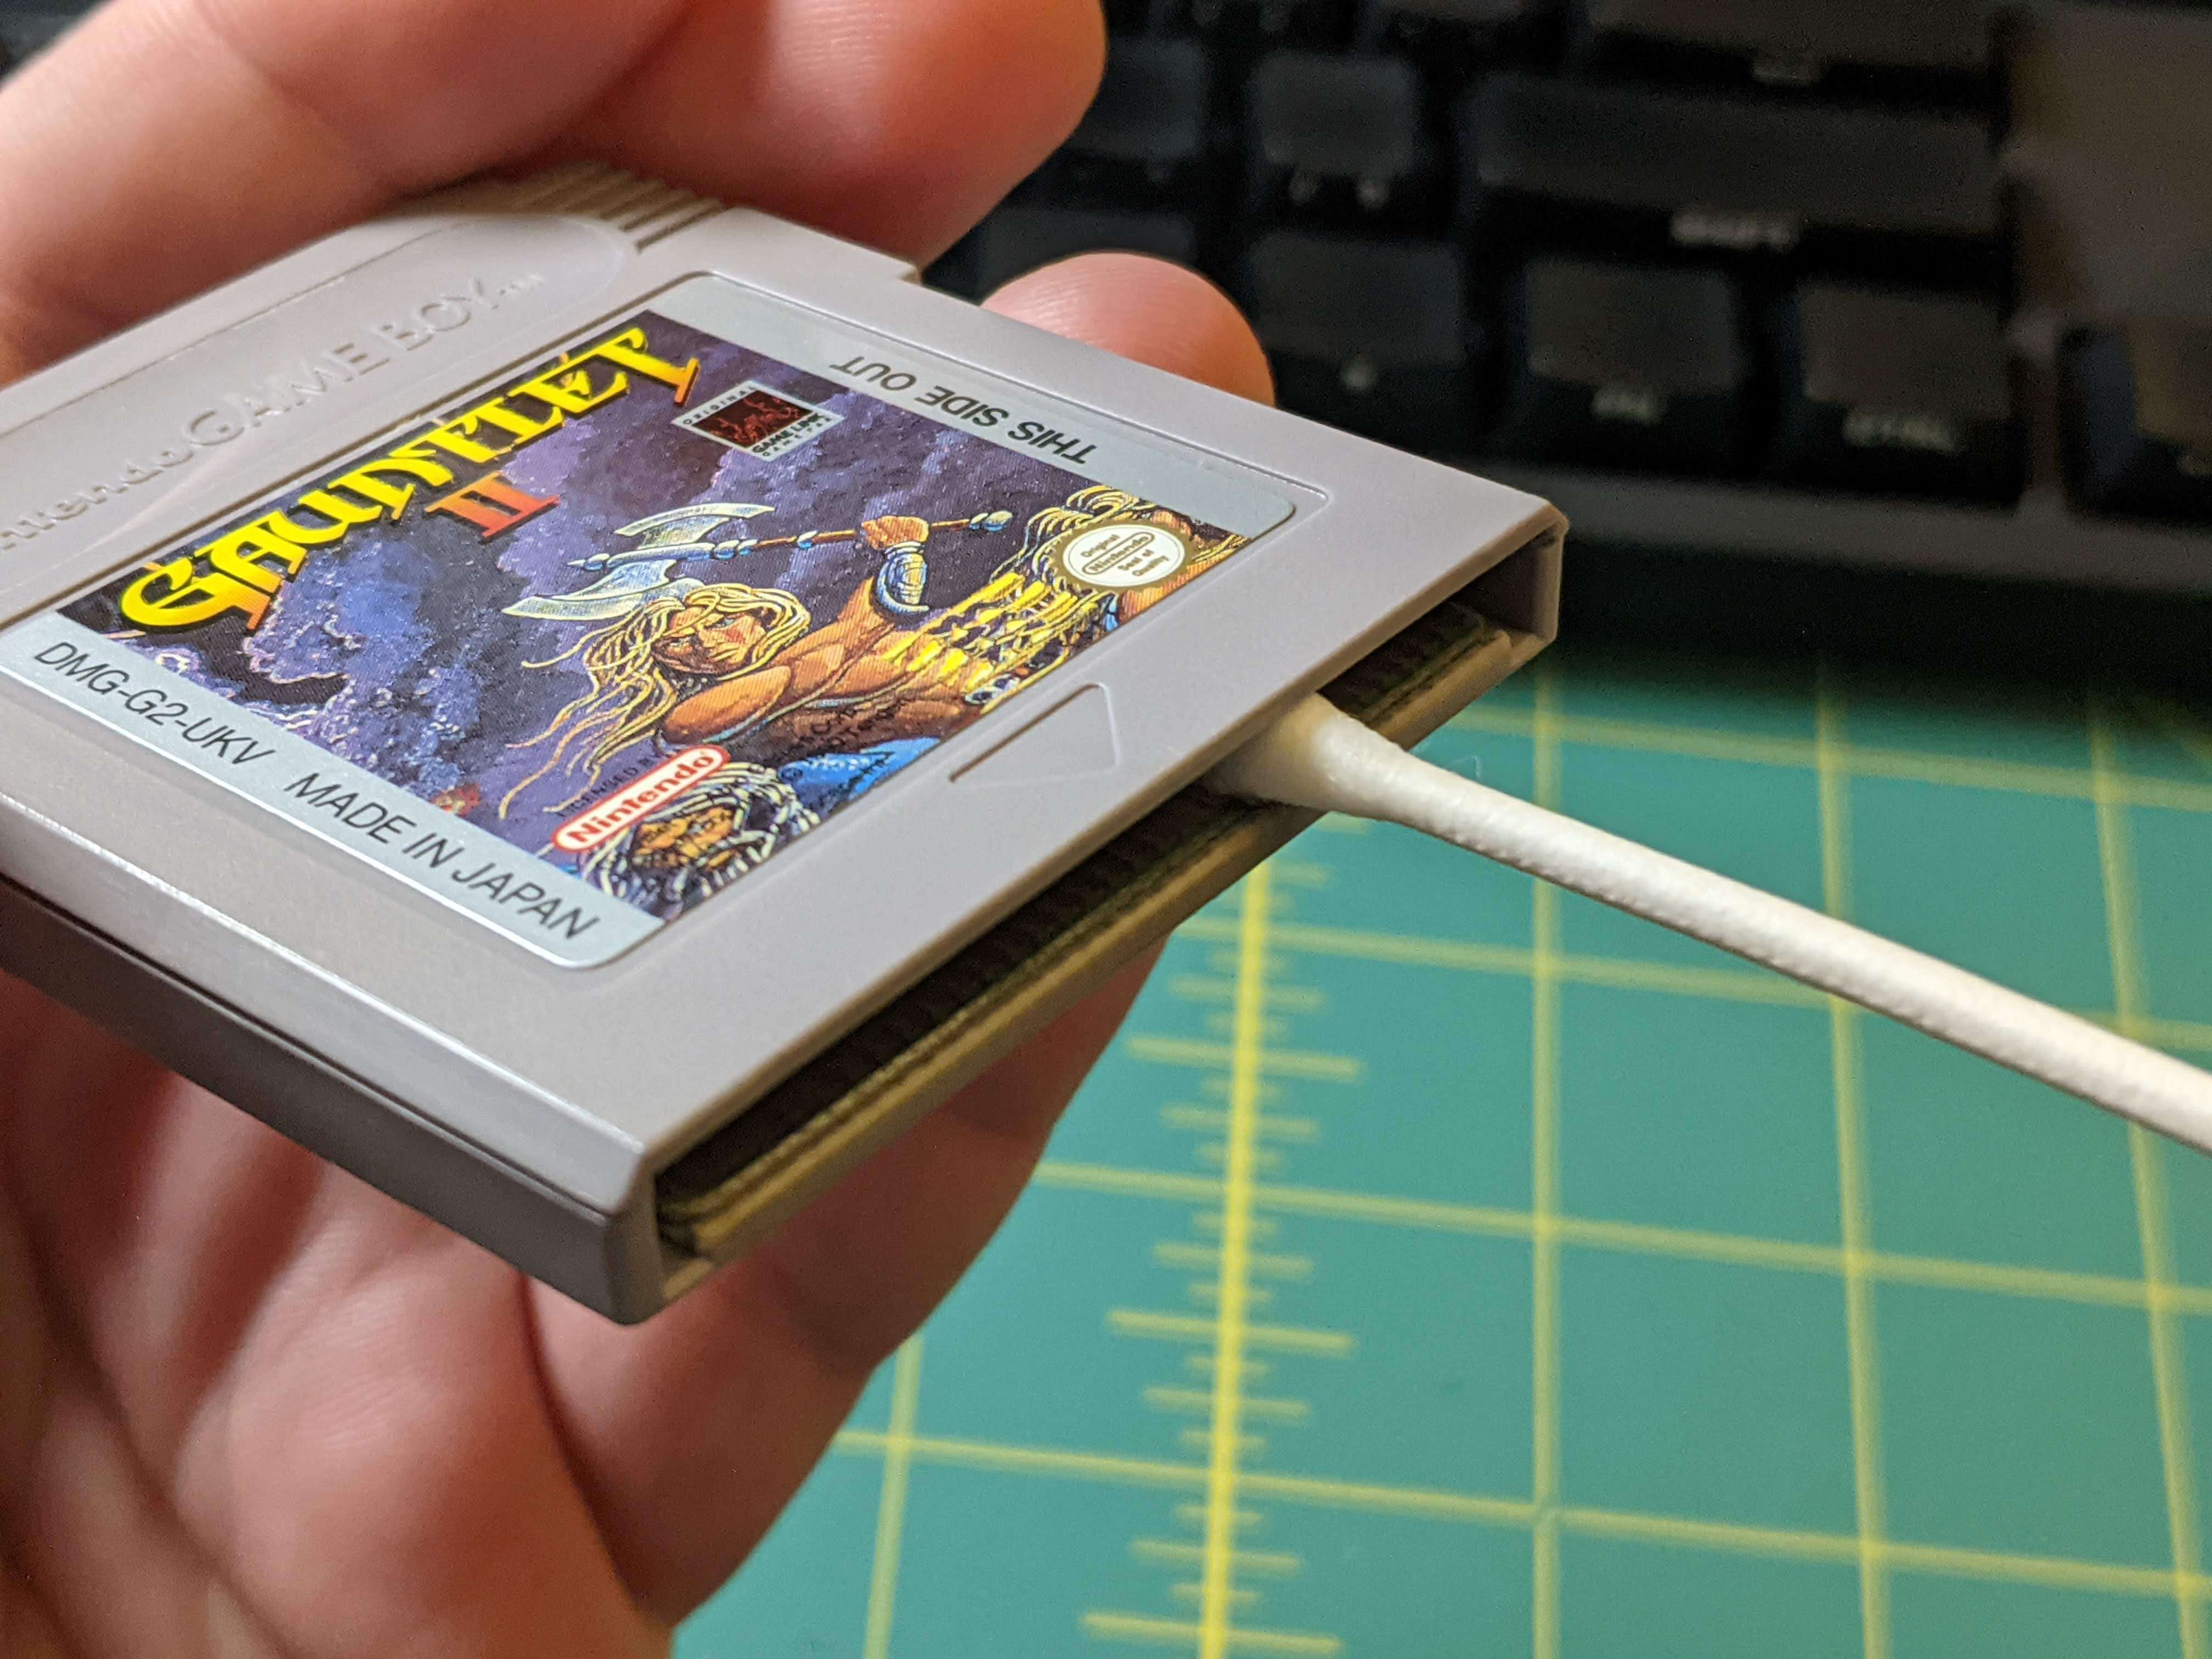
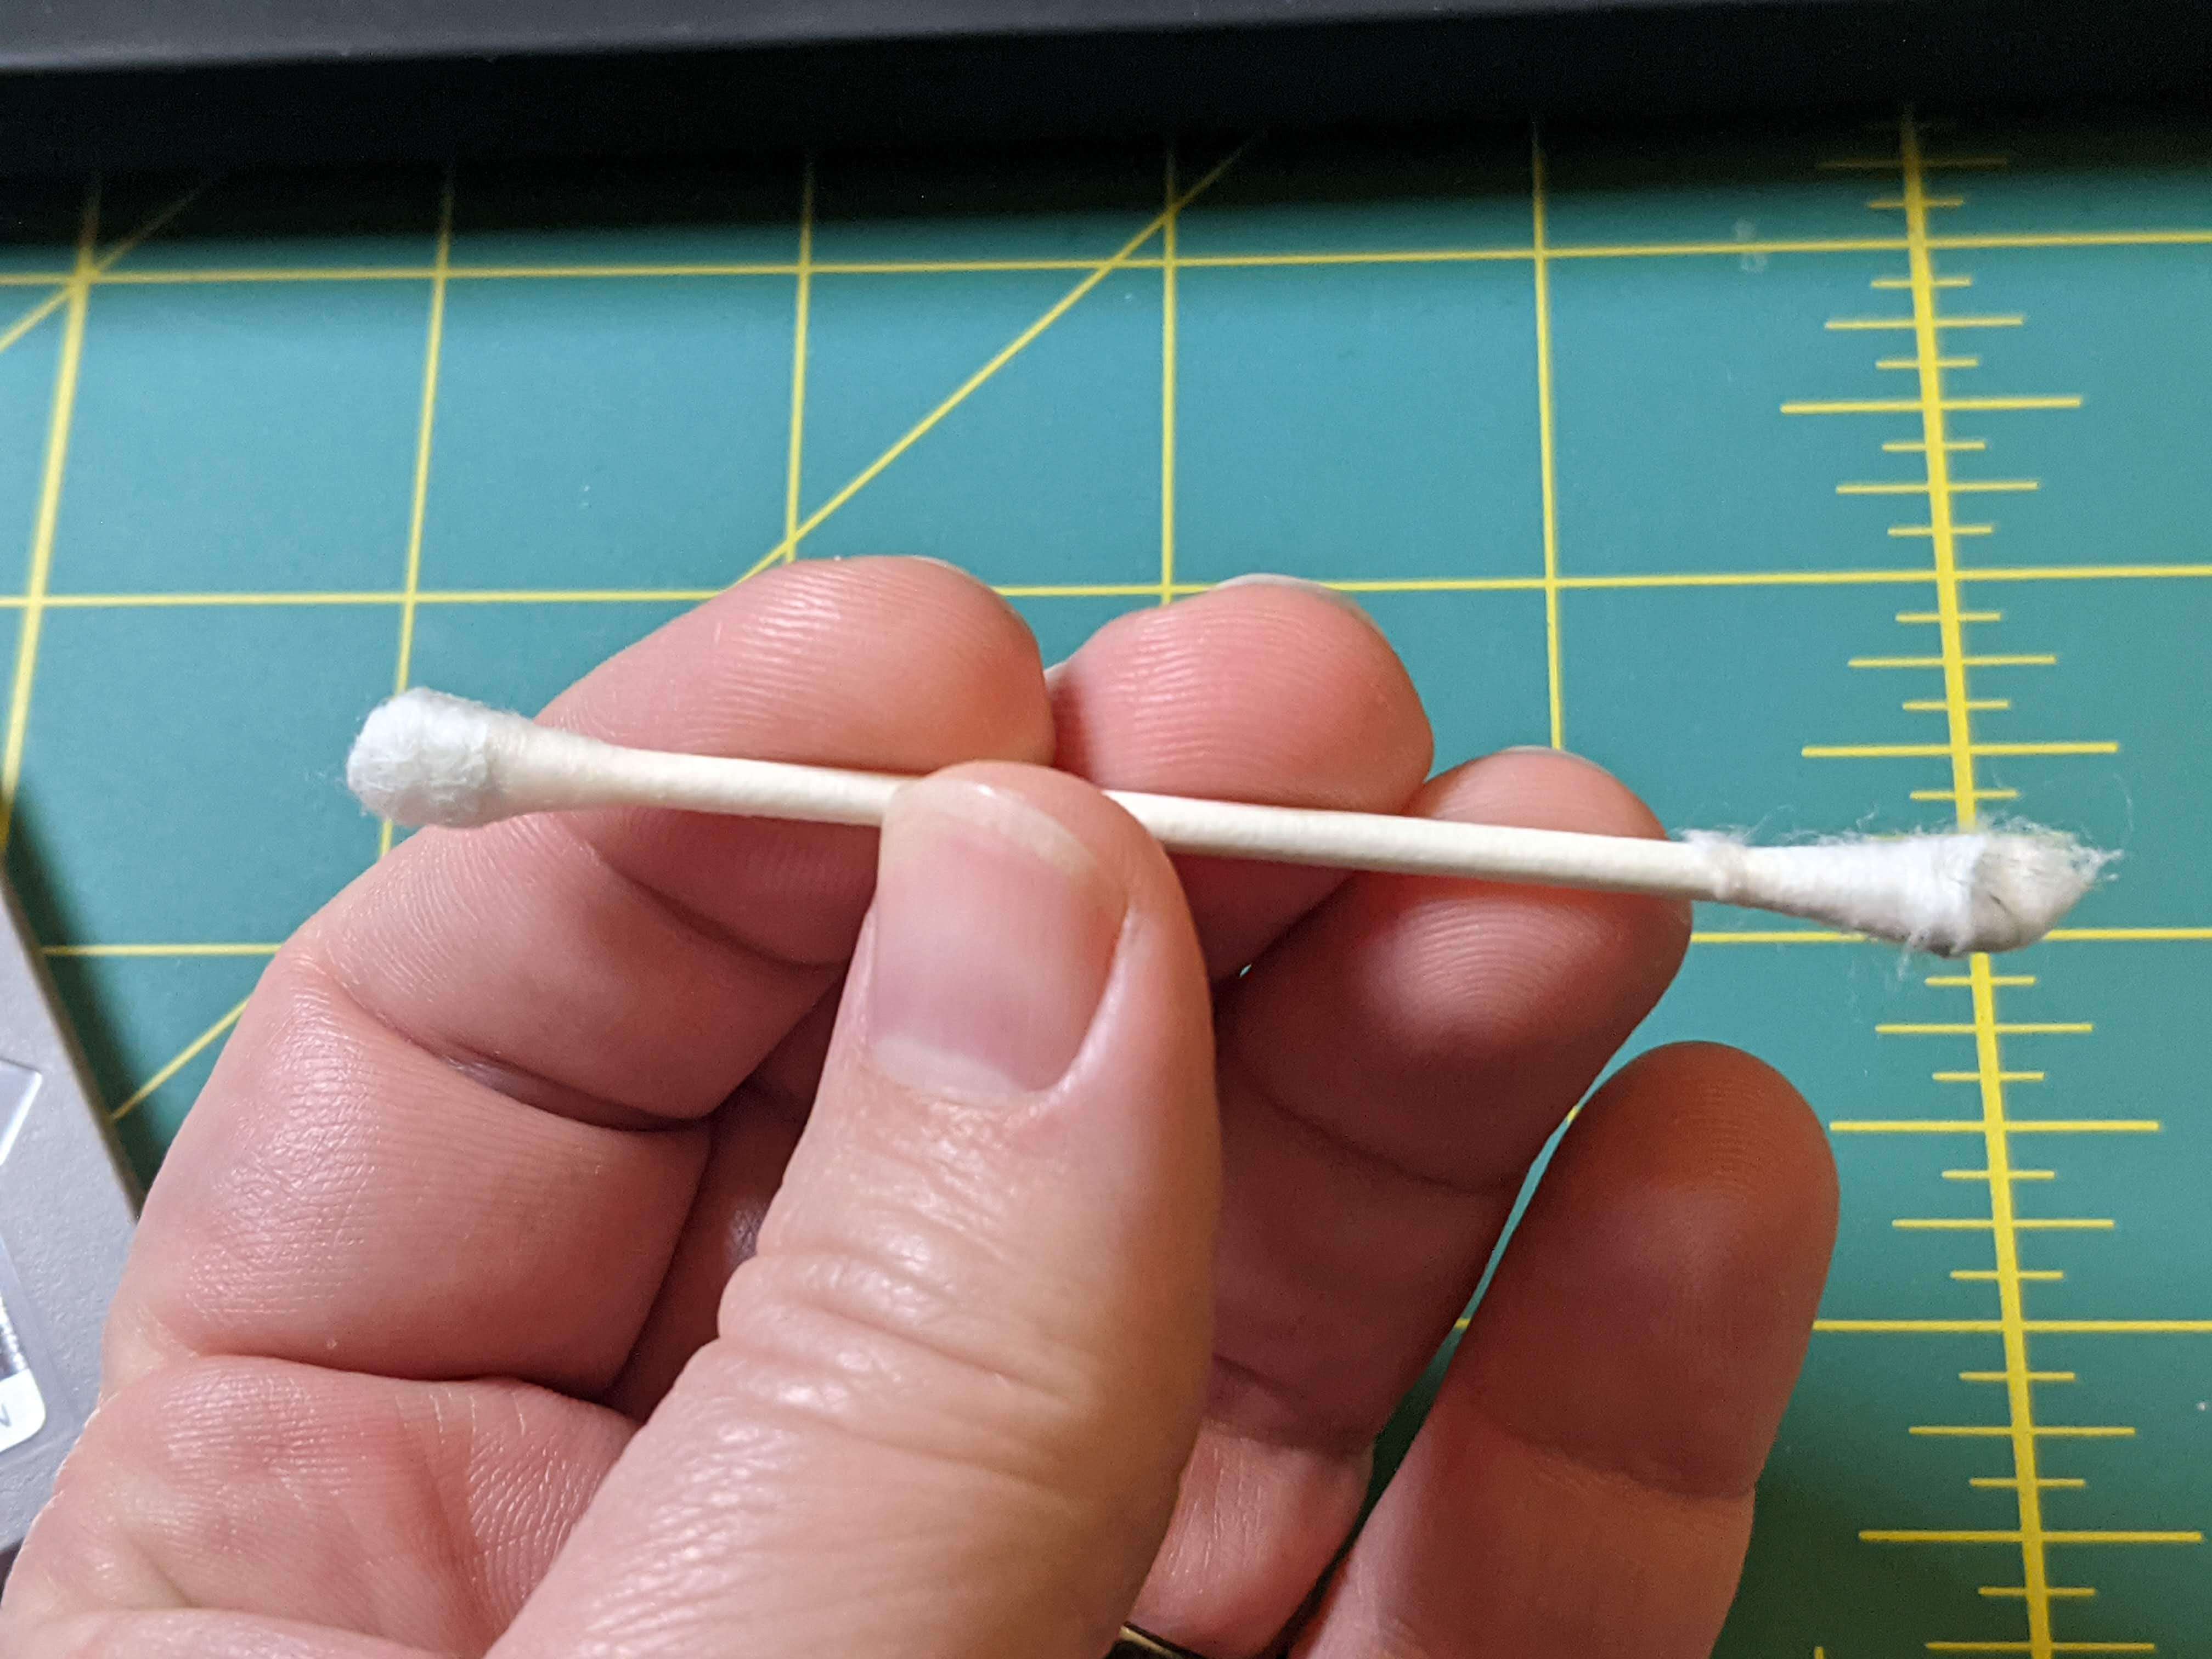
Before I even tried flipping the power switch, I cleaned all of the cartridges she provided with the console. I got a cotton swab and some isopropyl alcohol. I dipped one end of the cotton swab in the alcohol and wiped across all of the contacts on the bottom of the cartridge.
I saw some dirt on the swab, so I rotated it and wiped across the contacts again. Once I was satisfied that I had cleaned the contacts, I flipped the cotton swab to the dry end and wiped a few more times. Even the dry end picked up some of the dirt.
First Test
Then I popped the cartridge and two AA batteries into the Game Boy Color and flipped the switch. To my surprise, the game worked! I tried to press the start button to test out the game, only to realize that NONE of the buttons worked. Alright, it’s simple enough to clean the button contacts, to I got out my triwing screwdriver and opened it up.
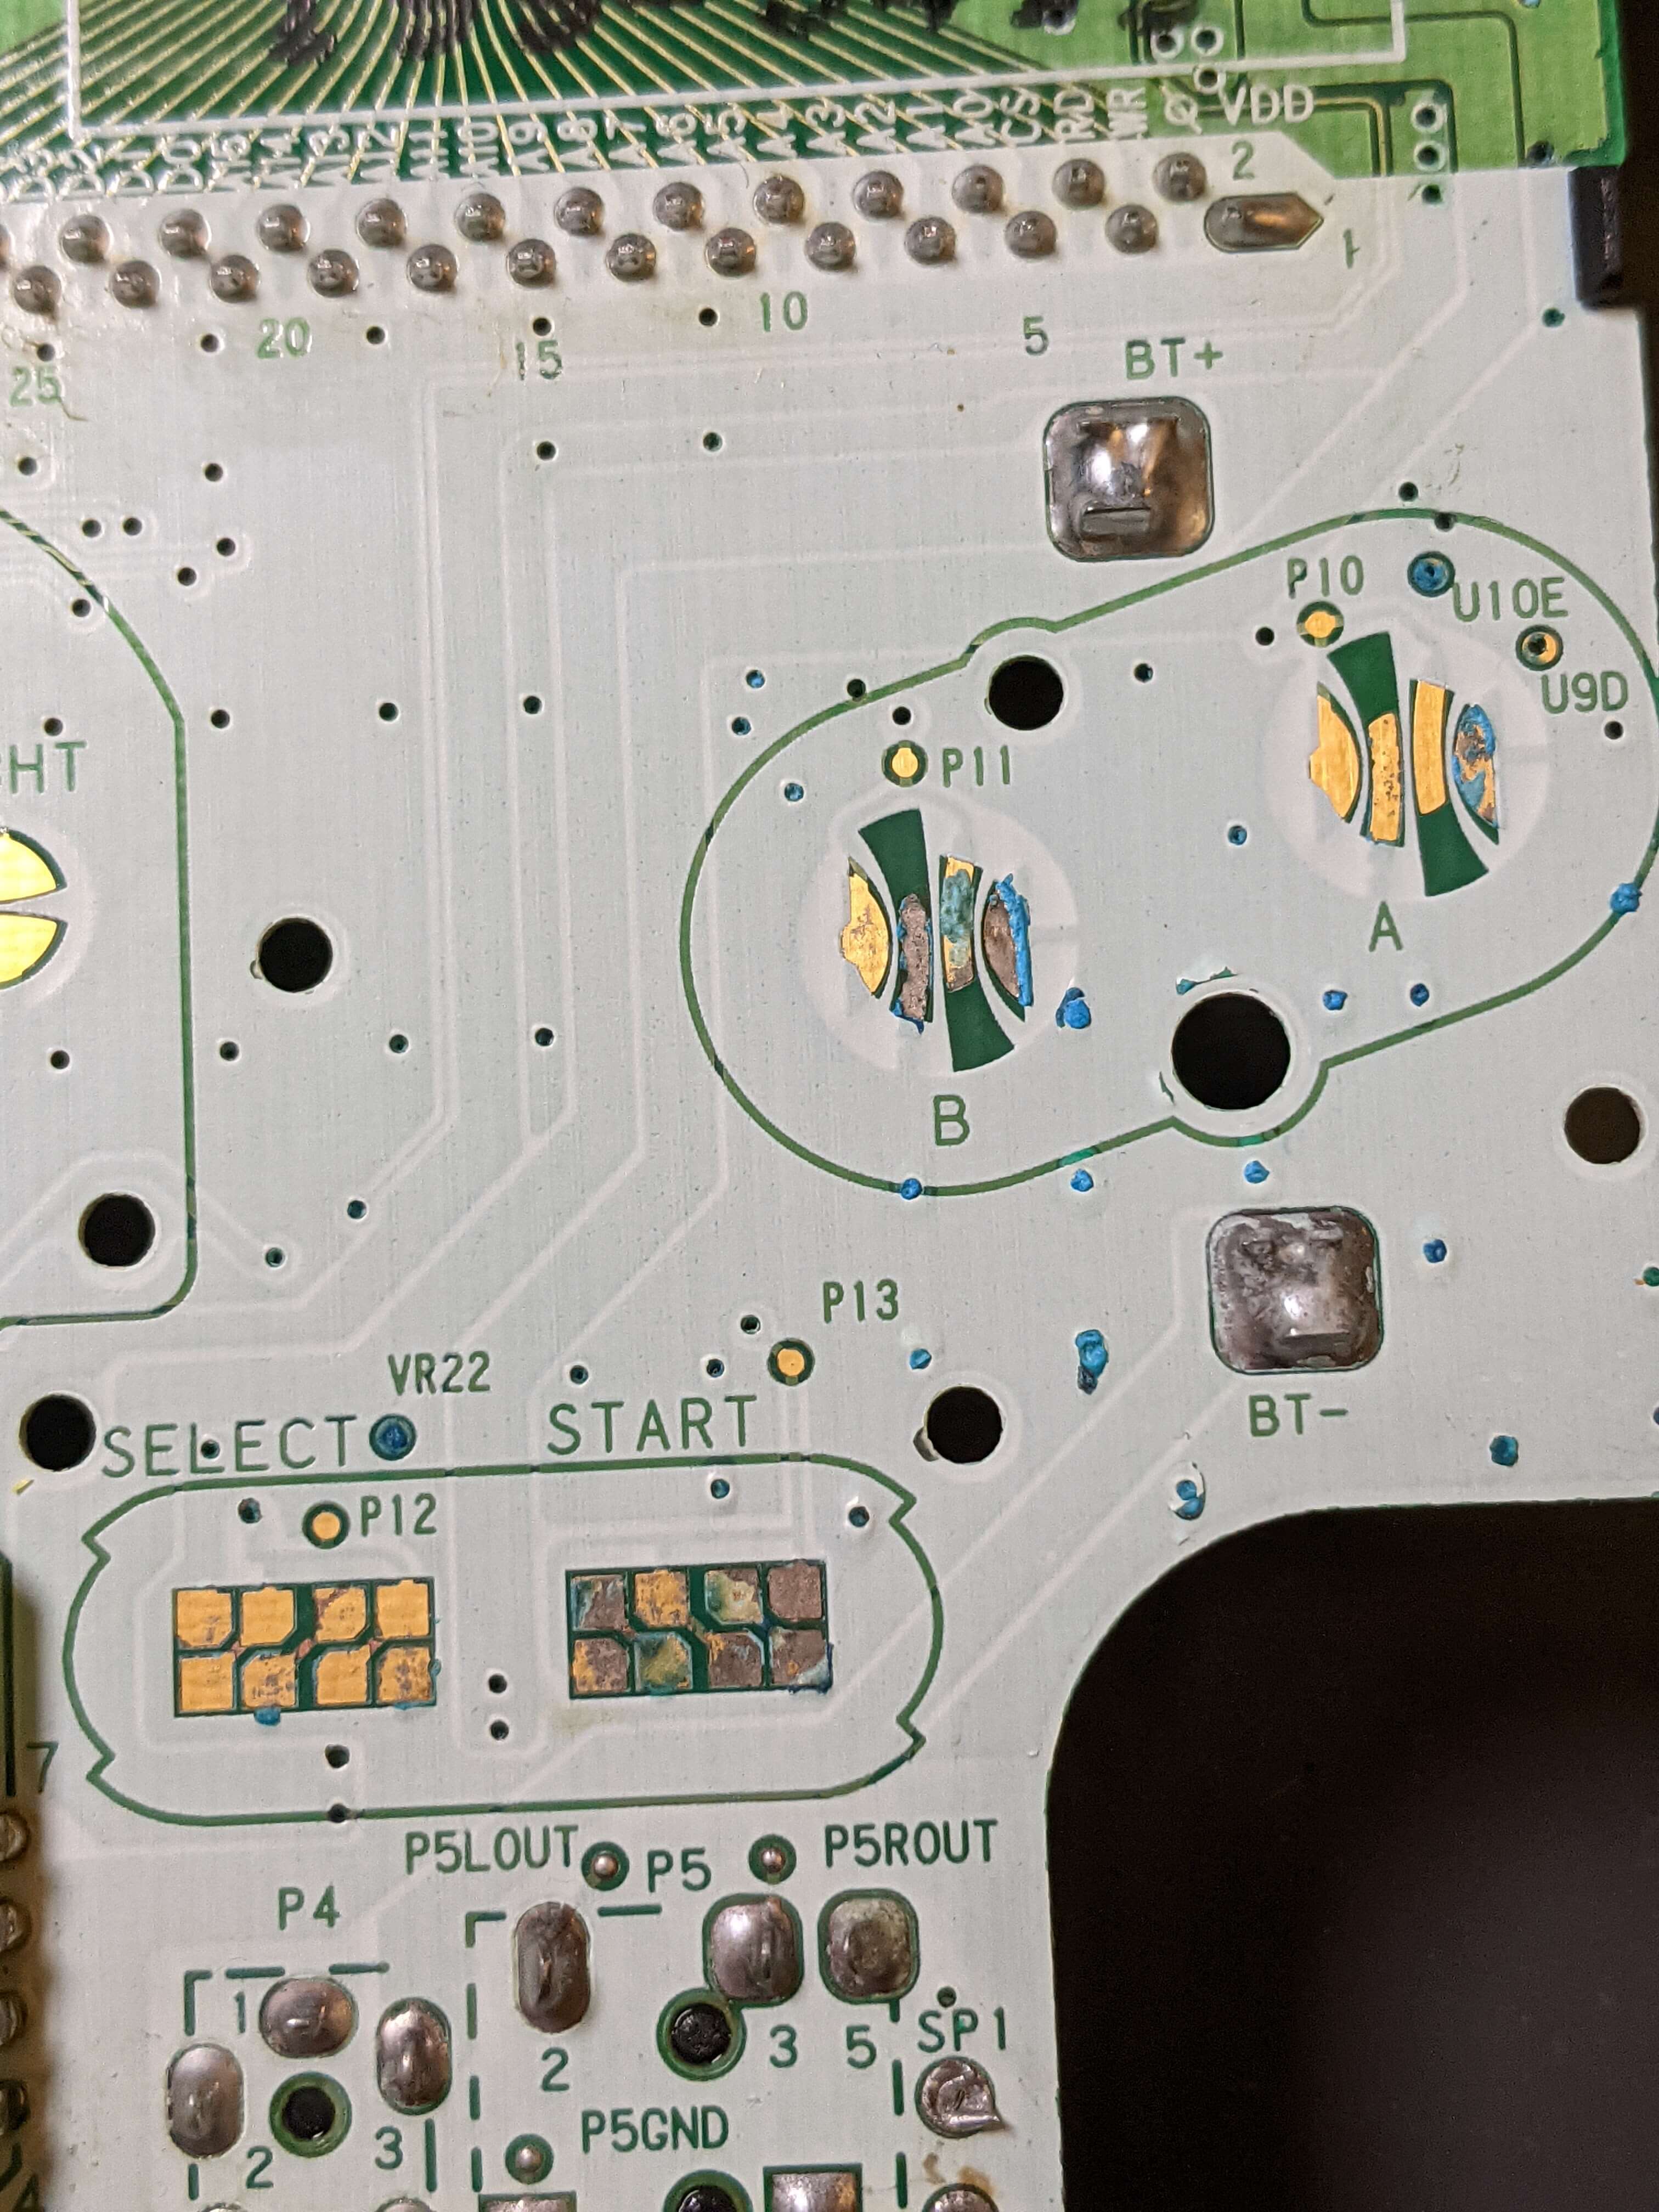
The Horror
What I discovered was pretty bad. The button contacts, battery contacts, headphone port, and even a bunch of the vias in the board were covered with blue-green oxidation.
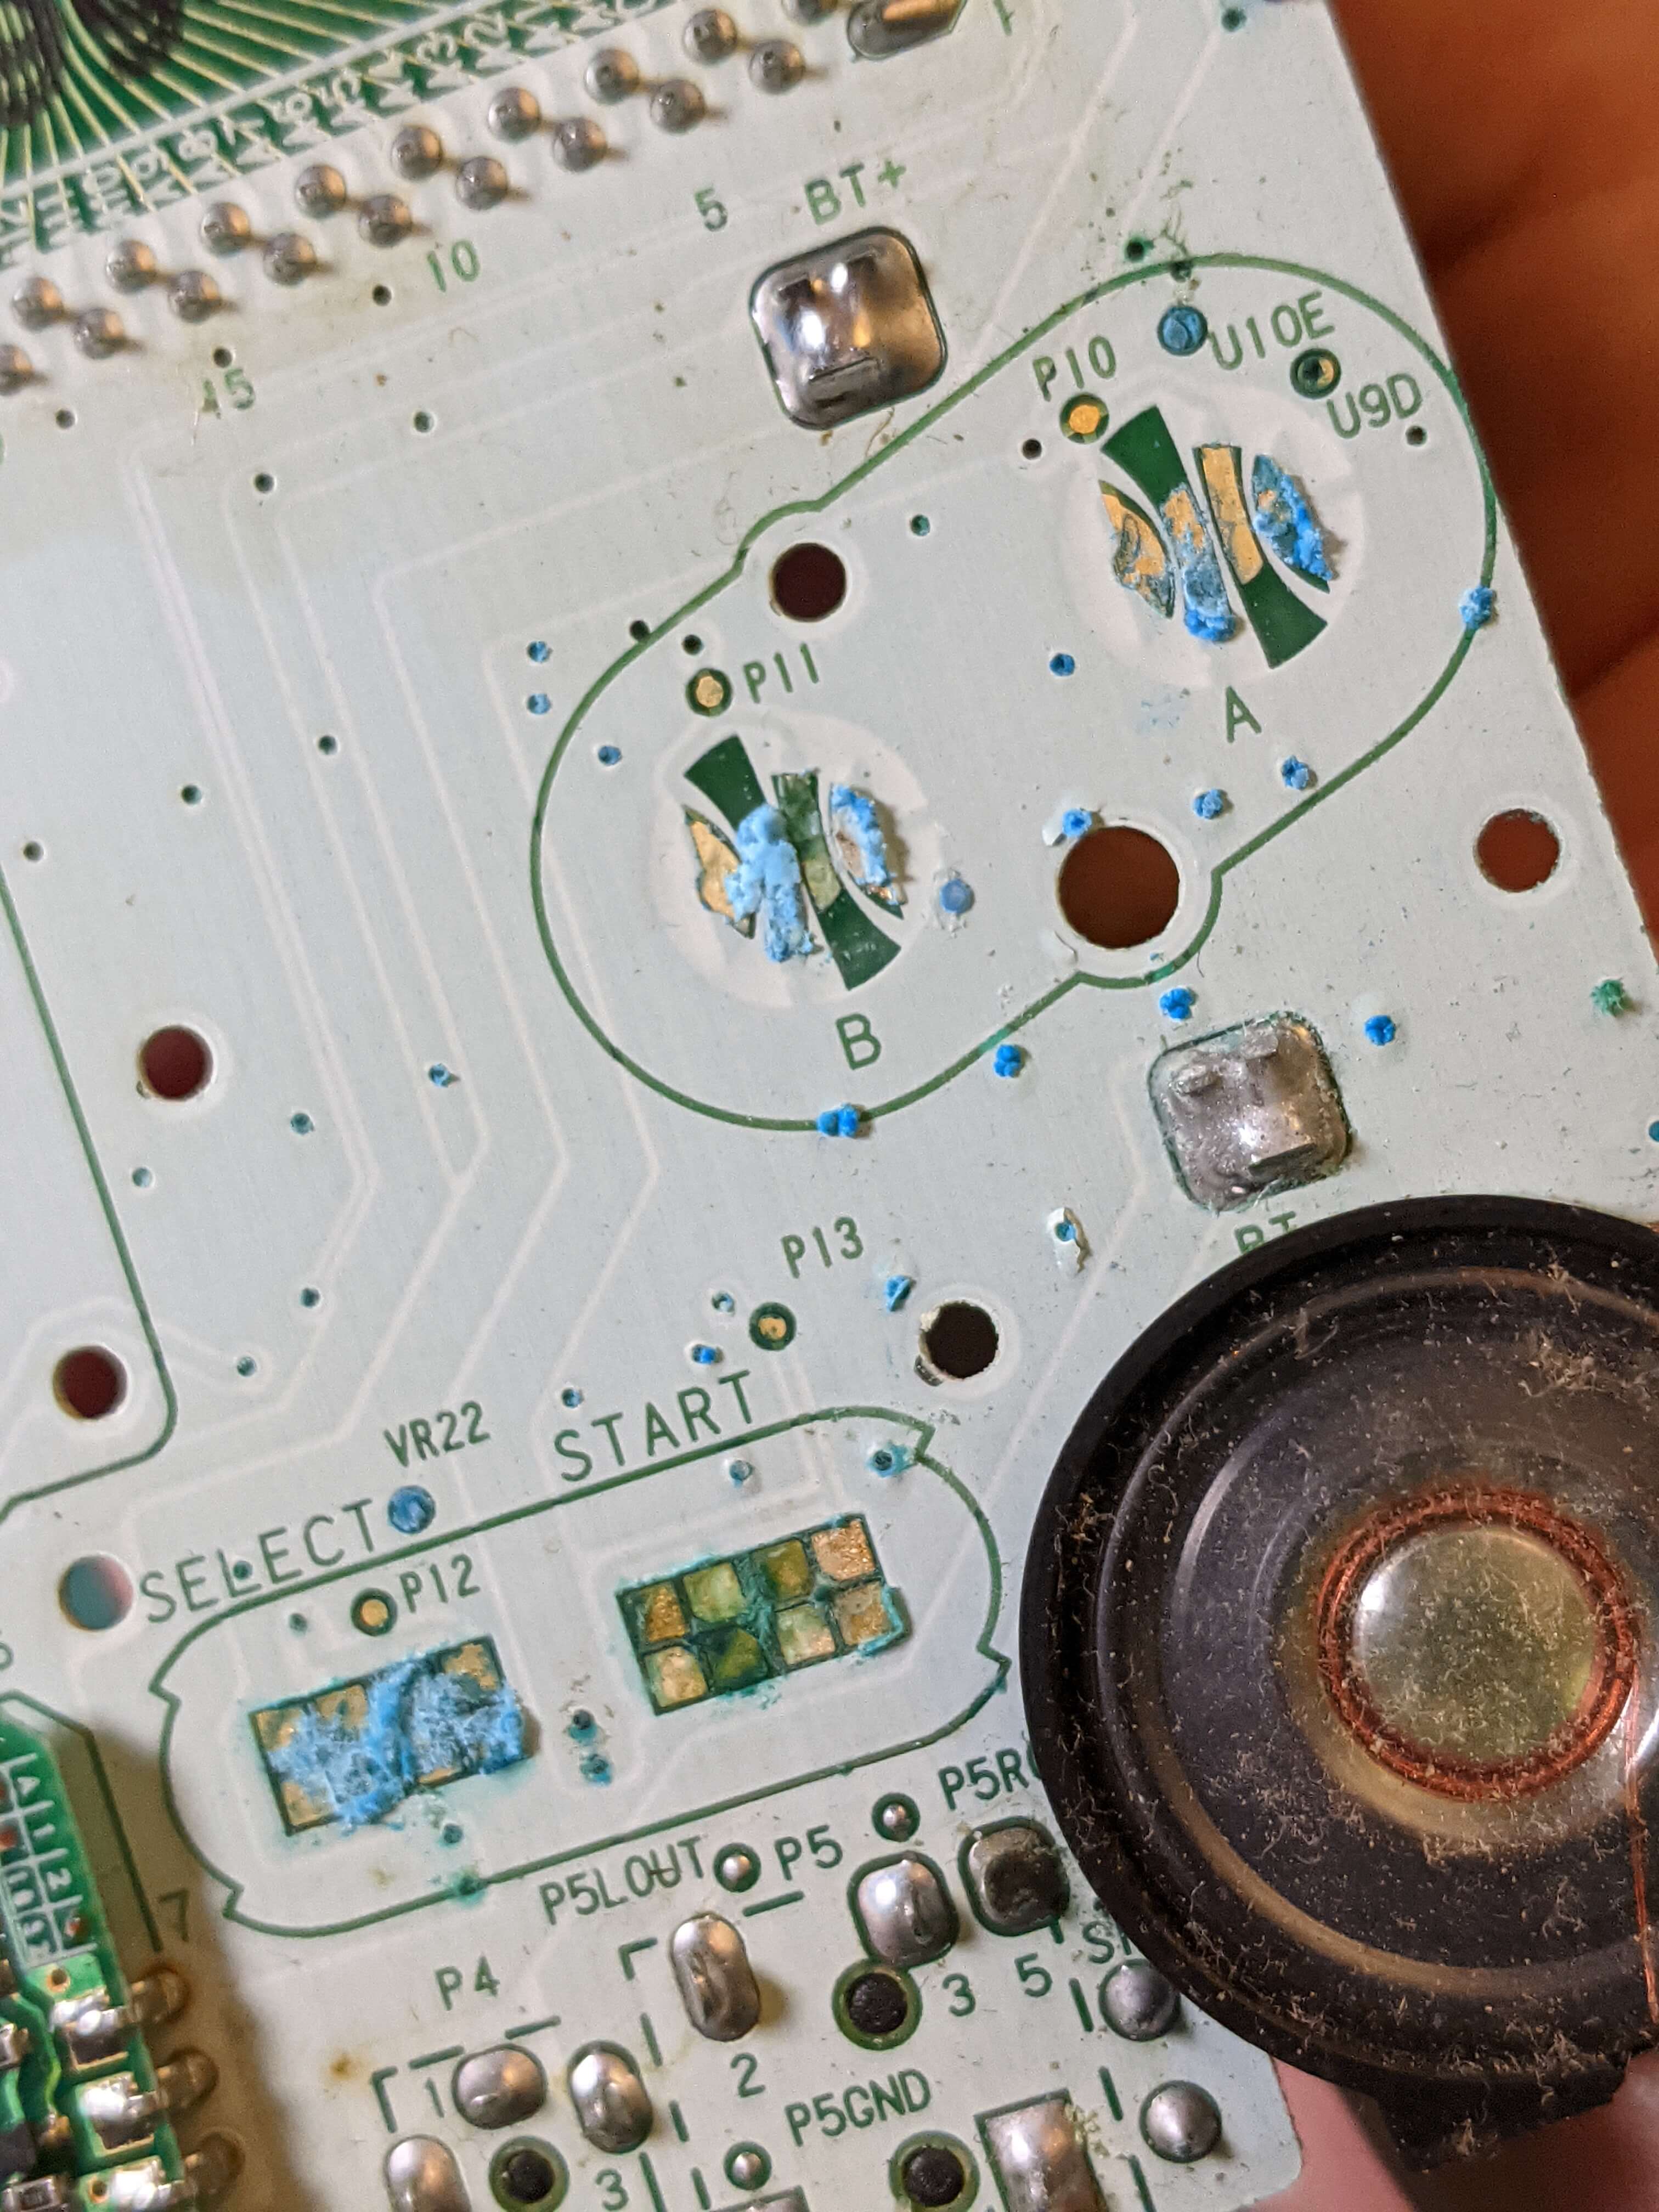
I originally thought this damage was caused by a leaky battery, so I used a toothbrush to apply vinegar to all of the affected parts of the board. Unfortunately, there was no reaction. That told me that this is damage was probably caused by water. Admittedly, I don’t have a lot of experience with water vs battery acid damage, so I could be wrong.
Cleaning up the Oxidation
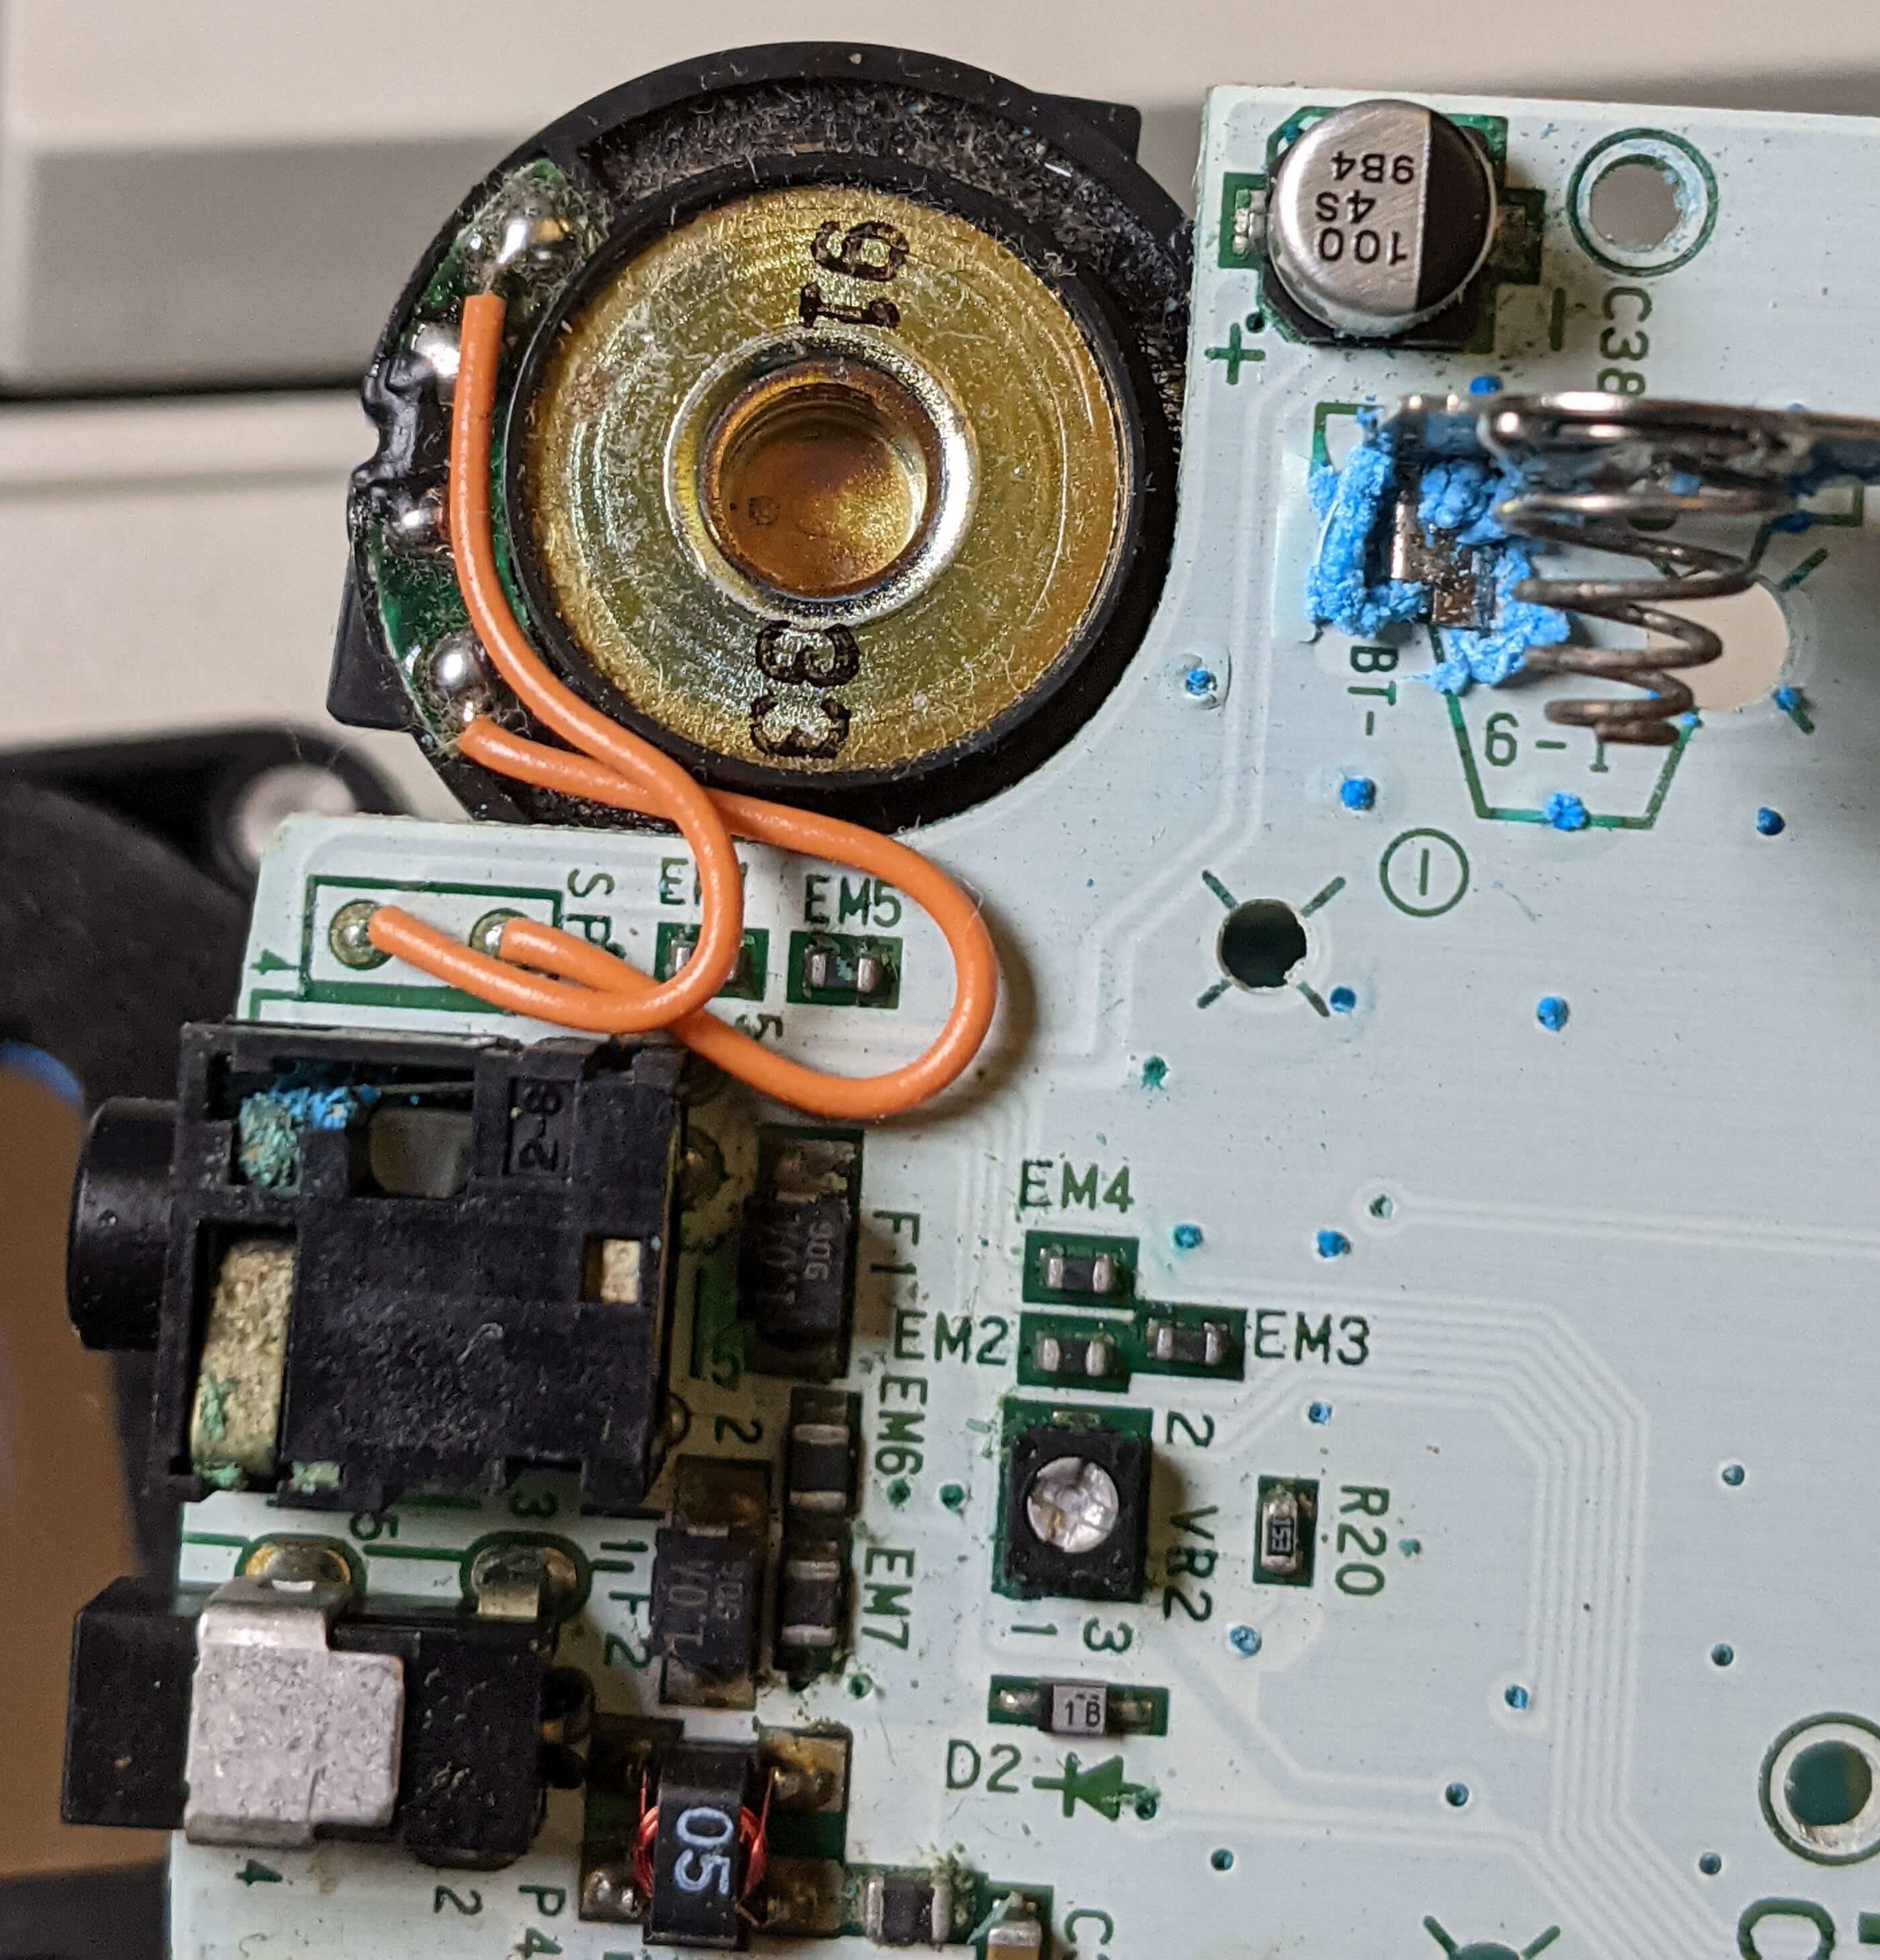
Regardless, I washed off the vinegar and proceeded to mechanically remove the oxidation. I used a cheap flat-head precision screwdriver to clean off as much as I could, then I used alcohol and another cotton swab to wipe away what was left over. You’ll notice in the picture below that not all of the oxidation is gone. I spent a little more time on the buttons to get them all working, but some of this oxidation is going to be there forever, especially the stuff that’s in the vias.
I also cleaned the contacts on the silicone button pads, since they were also covered in oxidation. I put everything back together, turned it on, and the buttons worked! However, I noticed the sound didn’t work. Ugh, well, I guess that fix will have to wait for another day.